
Worried about radon gas in your home?
Radon gas is both odorless and difficult to detect using our senses. The most reliable way to determine its presence is by conducting radon testing using DIY test kits or radon monitors.
Let’s discuss various radon testing methods in detail!

Before Testing Radon at Home
Radon is heavier than air and tends to accumulate in lower areas of buildings. It’s recommended to test for radon in the lowest level of your home, typically the basement. Remember to place the device 2 to 6 feet above the ground.
All the DIY testing kits and monitors mentioned here can be purchased at hardware stores, online, or through national radon offices.
Radon Testing Methods Comparison

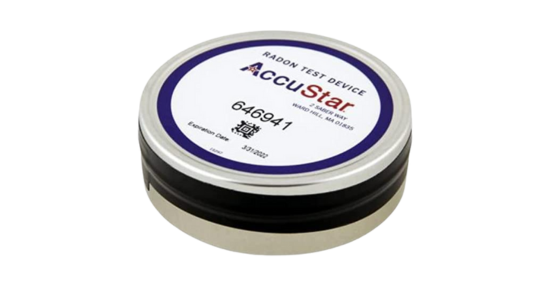
Activated Charcoal Adsorption Kit
Activated charcoal adsorption is an easy way to determine if further radon inspection or mitigation is needed. This test works by using charcoal granules to absorb radon in the air, and then counting the number of radon using a scintillation detector. It takes 2 to 7 days to get the results from lab analysis.
While being simple and cost-effective, this test doesn’t give long-term radon measurements.
Radon Alpha Track Detector
As radon levels can fluctuate from season to season, it is also important to monitor the annual radon levels. In winter, when airflow is limited, radon levels can rapidly increase with closed windows and doors.
Alpha track detectors are recommended for long-term measurements, as they can be exposed for 3 to 12 months.

When air passes through the detector, radon particles cause tracks on a special plastic inside the container. These tracks are then counted using a microscope or optical reader to determine the radon concentration in the lab.
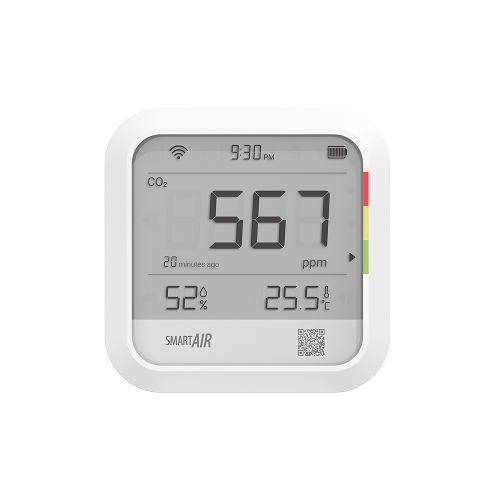
Radon Electric Monitors
If you don’t want to wait for a result from the lab, Smart Radon Detector can provide readings within 10 minutes to 1 hour. Some models even connect to mobile apps for easy access to data.

These monitors use an ionization chamber to sample the air and give a running average of the radon concentration. They are well-suited for real-time measurements of radon gas.
However, it’s worth noting that radon monitors are more pricey than DIY testing kits and accuracy can vary among different brands.
Read More: Do HEPA Filters Remove Radon?

If you detect radon in your home, don’t hesitate—take a proactive step towards breathing safe air.
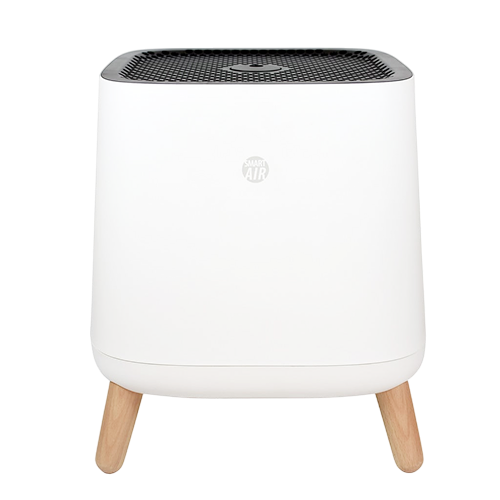
Consider purchasing an air purifier as part of the solution to combat radon. Read more about how HEPA filters can effectively remove radon from your home.
Free Guide to Breathing Safe
Want to learn more about breathing clean air? Join thousands more and stay up to date on protecting your health.


Since radon is invisible and often overlooked, guidance like this helps homeowners make informed choices and stay proactive about maintaining a healthy living environment.
It’s great to see such a comprehensive guide to tackling radon, ensuring that homeowners can make informed decisions for a safer living environment.
This guide helps homeowners make informed choices about radon testing, ensuring they can select the most appropriate method for accurate results and peace of mind regarding radon exposure.
Thanks for providing a clear and concise guide on the top ways to test for radon! It’s really helpful to see the different options laid out with their pros and cons, making it easier to choose the right method for each situation. This is a must-read for anyone concerned about radon in their home.
Thanks for this information! Radon test are the only way to know if your home is affected.